I've finally managed to get back to work on the model, Christmas is over, well it soon will be. Continuing here with Issue 15 (from 3 weeks back), it continues with the Stern cabin structure started in Issue 14.
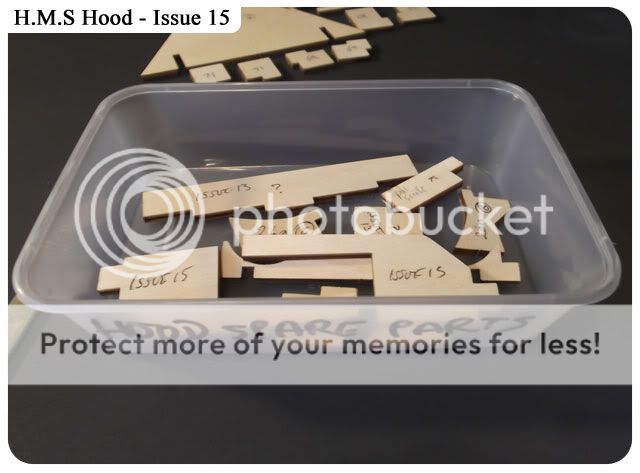
I've got hold of a new camera so the images may look a little different, I'm still getting used to some good settings to use. There are 2 parts on this ply fret that need to be put aside until further on in the build, either leave them on the ply fret or do as I do, your choice.
All part cut from fret and numbered, notice the two parts marked 'Issue 15', keep these safe.
This is what I do, leaving them on the fret is just as good.
Following the instructions I just drew a line to make sure that parts 67 were glued square on part 66.
Before gluing part 66 to the previous Issue's part 62 I marked where the tabs (67) is laid, not an essential but just the way I work, you can just add the glue to parts 67.
Glued and clamped.
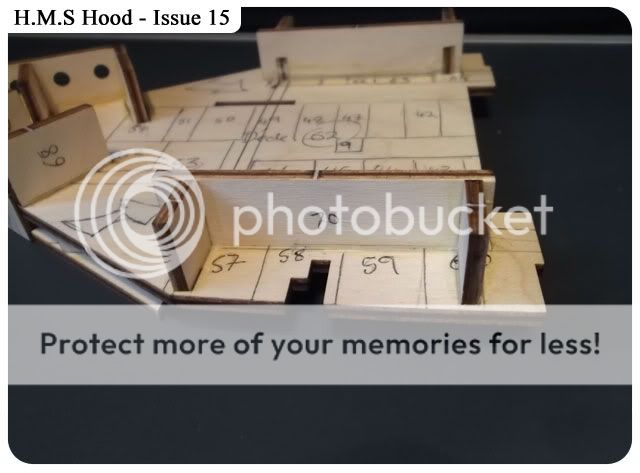
The internal walls continue here with parts 68 added, one thing I did notice was this part was not flush with the external wall 64 from the previous issue. All I did was to make sure it was level.
As you can see from the picture what I mean, not quite flush with wall part 64, but it is flush with the base part 62.
Adding parts 69 along with dry fitting part 70, be aware of the way part 69 sits, make sure its flush onto with part 70.
Parts 71 added, again just dry fit first and check it's all square.
Well there we have it, I'll be moving onto the next few Issue's to try and catch up, remember there is no Issue this week (Wednesday 28th), it will continue the following week.
I hope the picture's come out ok, as I said a new camera and new settings, I think I've got it sorted, BUT, the damn thing has to go back as it was dropped on the floor and chipped (my fault), a new replacement is due in a weeks time, until then back to the older camera...!!!!!!


No comments:
Post a Comment